Home Blog

Crochet Gauge Explained – When It Matters and How to Fix It

0

Gauge tells you how many stitches and rows fit into a measured area. It matters most when the finished size needs to be predictable.

When gauge really matters

Sweaters, hats, fitted bags and projects made to exact measurements can turn out noticeably wrong when your gauge differs from the pattern.

How to make a useful swatch

  1. Use the same yarn and hook planned for the project.
  2. Crochet a square larger than the measurement area listed in the pattern.
  3. Let the fabric relax, or wash and dry it if the finished project will be washed.
  4. Measure stitches in the center of the swatch, not along the edge.

If you have too many stitches per inch

Your stitches are usually tighter or smaller than the pattern gauge. Try a larger hook.

If you have too few stitches per inch

Your stitches are usually looser or larger. Try a smaller hook.

When you can worry less

Scarves, dishcloths, simple blankets and decorative pieces are often forgiving. If you like the fabric and the exact finished dimensions are not important, a small gauge difference may be perfectly fine.
Modern Granny Square Cushion Cover – Free Crochet Pattern

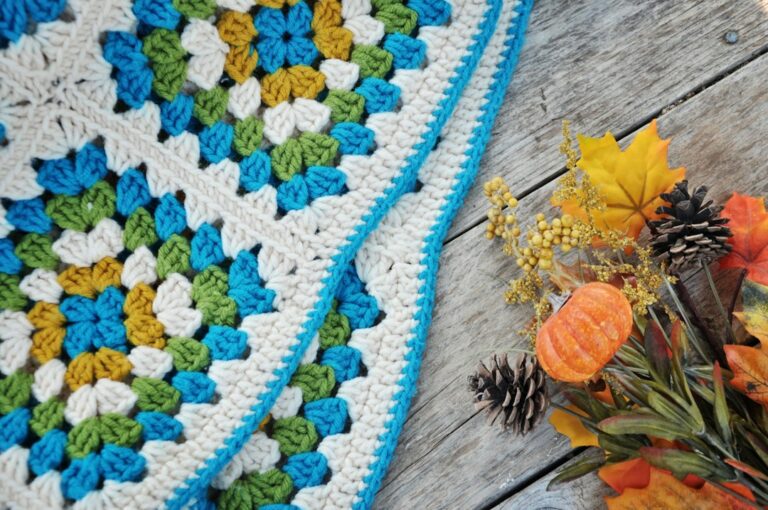
This cushion cover keeps the cheerful rhythm of a granny square but uses a simple two-panel construction that is easy to finish.

Pattern details

  • Skill level: Easy
  • Yarn: Worsted weight
  • Hook: 5 mm
  • Finished size: About 16 inches square

Materials

  • About 600 yards worsted yarn
  • 5 mm crochet hook
  • 16-inch cushion insert
  • Yarn needle

Instructions

  1. Make a granny square and continue adding rounds until it measures about 16 inches across.
  2. Make a second square to the same size.
  3. Place the squares with wrong sides together.
  4. Single crochet through both layers around three sides.
  5. Insert the cushion and close the fourth side with single crochet.
  6. Fasten off and weave in the ends.

Color idea: Use one neutral shade for most rounds and add a single contrast color every fourth round for a cleaner modern look.

Why Crochet Edges Curl – 5 Easy Fixes

0

Curling usually comes from tension, stitch height or a foundation row that does not have enough room to relax. The good news is that most causes are easy to identify.

1. Your starting chain is too tight

If the bottom edge curves upward, make the foundation chain with a hook one size larger, then switch back for the first row.

2. Your stitch count is changing

Missed edge stitches make a piece narrow while accidental extra stitches make it flare. Count each row until the edges become consistent.

3. Your tension changed

Beginners often tighten their grip as they concentrate. Relax your yarn hand and let the hook move instead of pulling each stitch closed.

4. A round project needs different increases

If a circle cups, you may need more increases. If it ruffles, you may have too many. Lay the work flat every few rounds and check.

5. Blocking can help

For natural fibers and many acrylics, gentle blocking can settle minor curling after the stitch count and tension are correct.

Crochet for Absolute Beginners – Calm Start Guide

0

If you can make a loop and count to ten, you can learn crochet. The awkward part is temporary; the rhythm arrives sooner than you think.

Start with forgiving tools

Choose a smooth, light-colored worsted yarn and a 5–5.5 mm hook. Dark fuzzy yarn makes it harder to see the loops you are trying to learn.

Learn only five movements first

  • Slip knot
  • Chain
  • Single crochet
  • Half-double crochet
  • Double crochet

Those movements unlock a huge number of beginner projects. Ignore advanced stitches until these feel comfortable.

Tension is not a talent

Your first rows may be tight, loose, or both. That is normal. Hold the yarn lightly and let repetition teach your hands.

Use stitch markers

Put one marker in the first and last stitch of each row. It helps prevent the accidental triangle that happens when beginners miss edge stitches.

Your first project

Start with a scarf, mug sleeve or simple rectangle beanie. Projects with straight rows let you focus on the stitch instead of complicated shaping.

One-Skein Crochet Market Bag – Free Pattern

0

This easy crochet market bag is light, roomy and useful enough to keep by the door for groceries, yarn or a quick weekend market run.

Pattern details

  • Skill level: Easy
  • Yarn: Cotton DK
  • Hook: 4.5 mm
  • Time: About 4 hours

Materials

  • 1 large skein cotton DK yarn
  • 4.5 mm crochet hook
  • Stitch marker
  • Yarn needle

Instructions

  1. Make a magic ring and work 12 double crochet into the ring. Join.
  2. Increase evenly for six rounds to build a flat circular base.
  3. Begin the mesh by alternating chain spaces and double crochet around.
  4. Continue without increasing until the bag reaches the height you want.
  5. Create two handle openings with chain loops on opposite sides.
  6. Work two reinforcing rounds around the handles and top edge.

Tip: Cotton gives the bag structure and handles weight better than very stretchy fibers.

Easy Ribbed Crochet Beanie – Free Beginner Pattern

0

If you want a first wearable project that does not involve shaping, this ribbed beanie is a comfortable place to start. The hat is made as one rectangle, seamed along the short edge, then gathered at the top.

Quick pattern notes

  • Skill level: Beginner
  • Yarn: Worsted weight, about 180–220 yards
  • Hook: 5.5 mm
  • Time: About 2–3 hours

Materials

  • Worsted-weight yarn
  • 5.5 mm crochet hook
  • Yarn needle
  • Scissors

Instructions

  1. Chain 36 loosely.
  2. Half-double crochet in the second chain from the hook and across.
  3. Chain 1 and turn. Work half-double crochet in the back loop only across each row.
  4. Repeat until the rectangle wraps around your head comfortably without stretching hard.
  5. Fold the rectangle with the short edges together and slip stitch or sew the seam closed.
  6. Thread a long yarn tail around one open edge, pull firmly to gather, knot securely, and weave in the ends.
Maker note: If your starting chain feels much tighter than the rest of the fabric, make the chain with a hook one size larger and switch back for Row 1.

How to adjust the size

For a taller hat, add more chains at the beginning. For a wider hat, crochet more rows before joining the rectangle. The ribbing is stretchy, so aim for a rectangle that is slightly smaller than the head circumference.

Frequently asked question

Can I use chunky yarn? Yes, but the finished dimensions will change. Use the hook recommended for your yarn and make the rectangle to your actual head measurements rather than relying on the chain count above.

Crochet Christmas Tree Pattern PDF – Free Download

0
Free crochet PDF pattern

Crochet Christmas Tree Ornament

An original flat Christmas tree pattern worked in simple single crochet rows. The PDF includes materials, US abbreviations, row-by-row stitch counts, trunk and edging instructions, hanging-loop directions and customization ideas.

Skill level: Confident beginner
Finished size: approx. 6 x 7.5 in (15 x 19 cm)
Terms: US crochet

Original pattern by Crochet Downloads – 100k.news
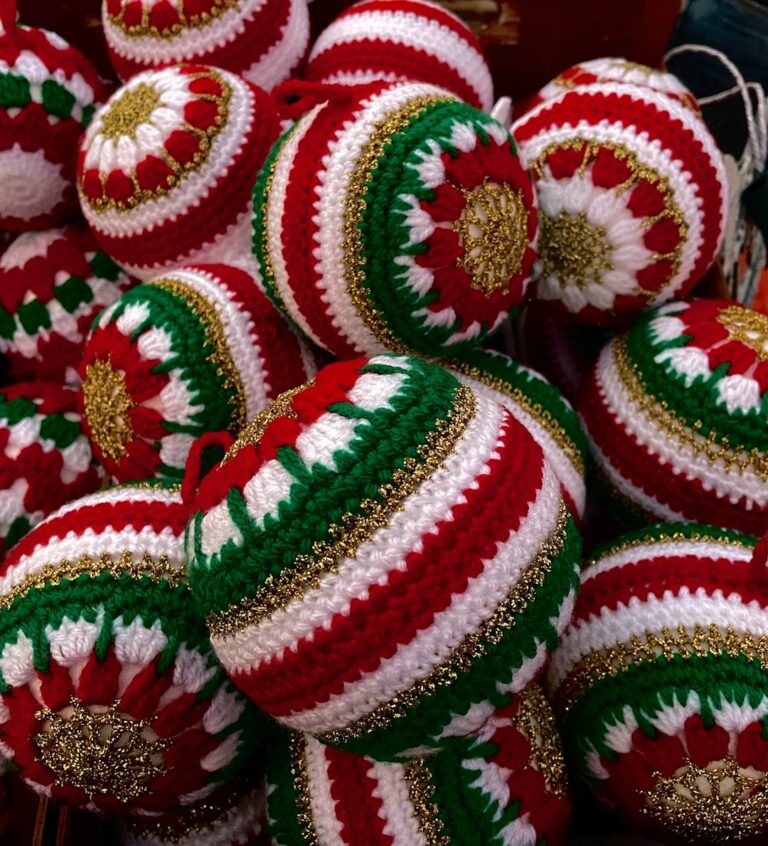
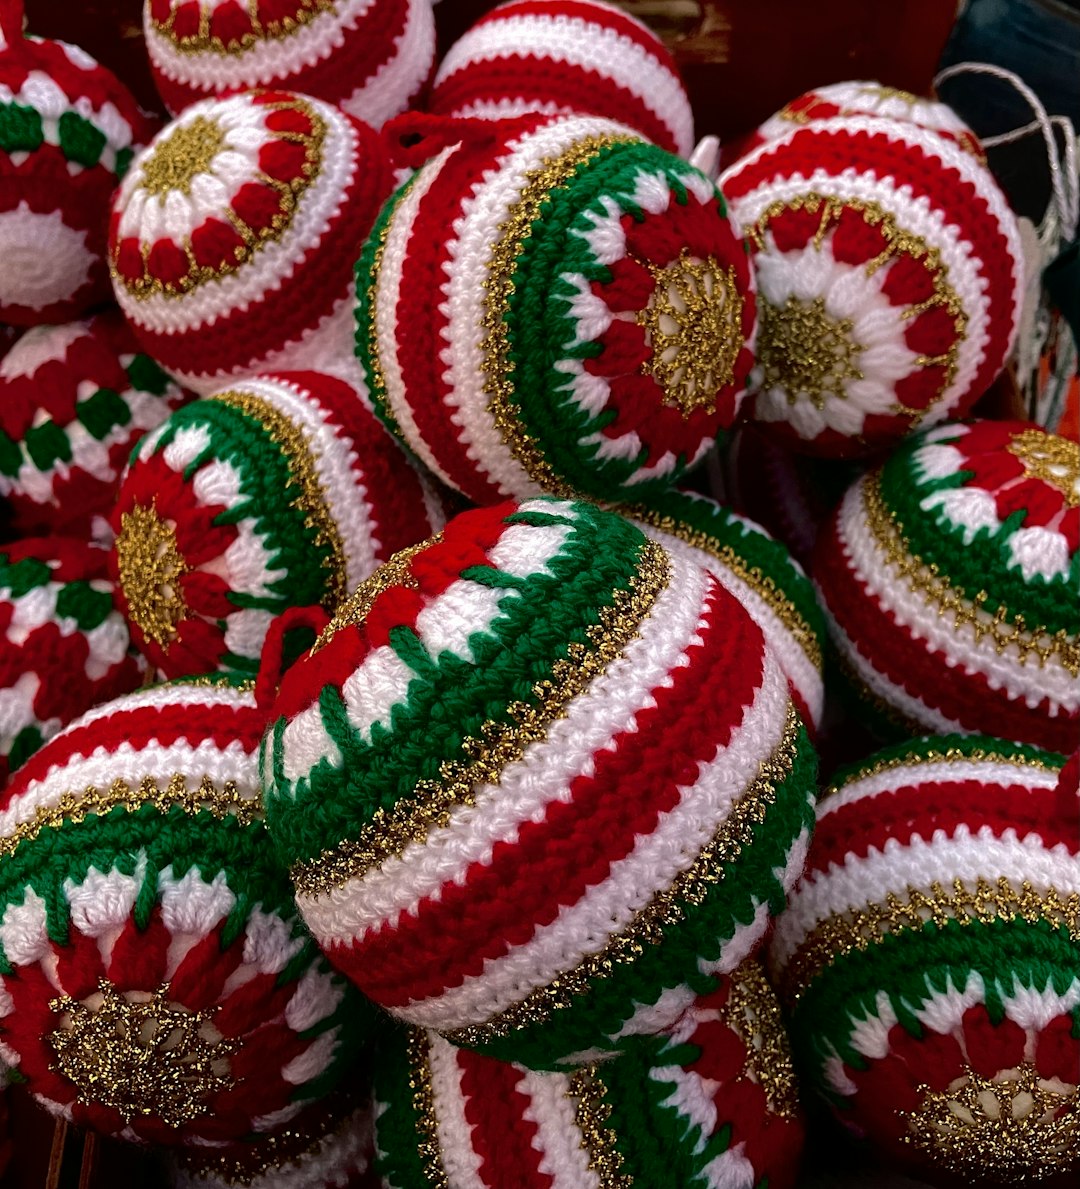
Handmade red and green Christmas crochet ornaments
Holiday crochet inspiration. Photo: Vasiliki Mastropetrou via Unsplash.
MaterialsWorsted/aran yarn, 4.0 mm hook, yarn needle and scissors.
Inside the PDF4 printable pages with instructions, stitch-count table and finishing notes.
Project styleFlat ornament, gift topper, garland piece or small holiday wall decor.
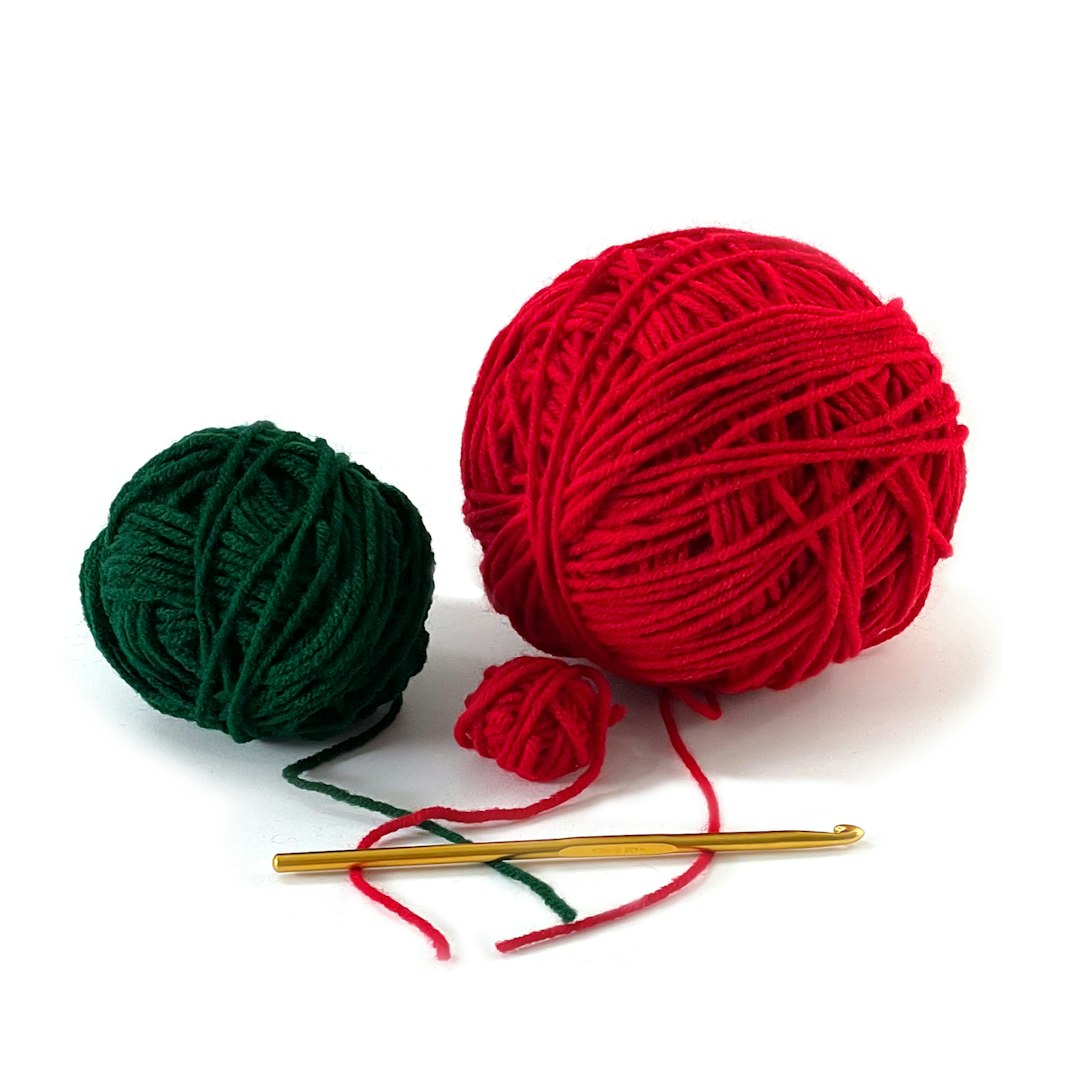
Handmade Christmas crochet ornamentsRed and green yarn with crochet hook

What you will make

The tree is crocheted from the base upward as a simple triangle. Every second row decreases by two stitches, so the shape is easy to follow and easy to resize. A separate brown trunk is stitched to the bottom, and the finished tree can be edged, embellished and turned into an ornament with a hanging loop.

PDF includes

  • Complete written instructions
  • US crochet terminology
  • Materials and gauge guidance
  • Row-by-row stitch-count table
  • Trunk and edging instructions
  • Hanging-loop directions
  • Decoration ideas
  • Smaller and larger sizing options

Usage

You may sell finished items made from this pattern in small quantities. Please do not resell, copy, upload or redistribute the PDF pattern itself.